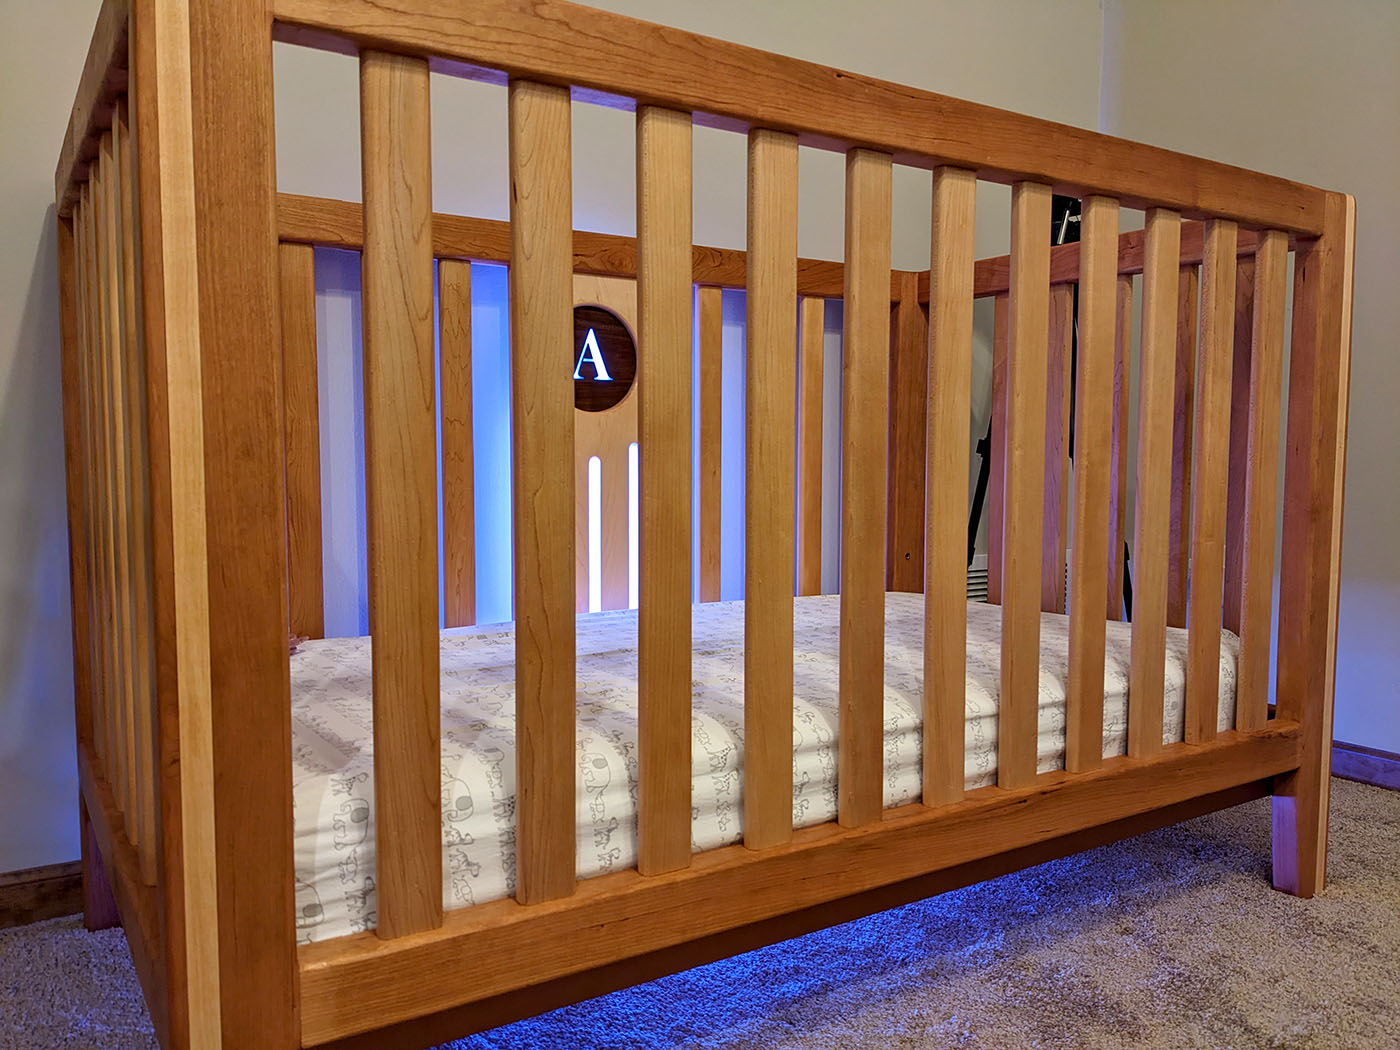
Back in the 1950's, as a high school student in shop class, my grandpa built a headboard for one of the bedrooms in his home. It served its purpose well, but was ultimately retired and stashed in the rafters of a woodshed, where it collected several inches of dust. Two generations later, great-grandchildren entered the picture and the little munchkins needed a place to sleep.
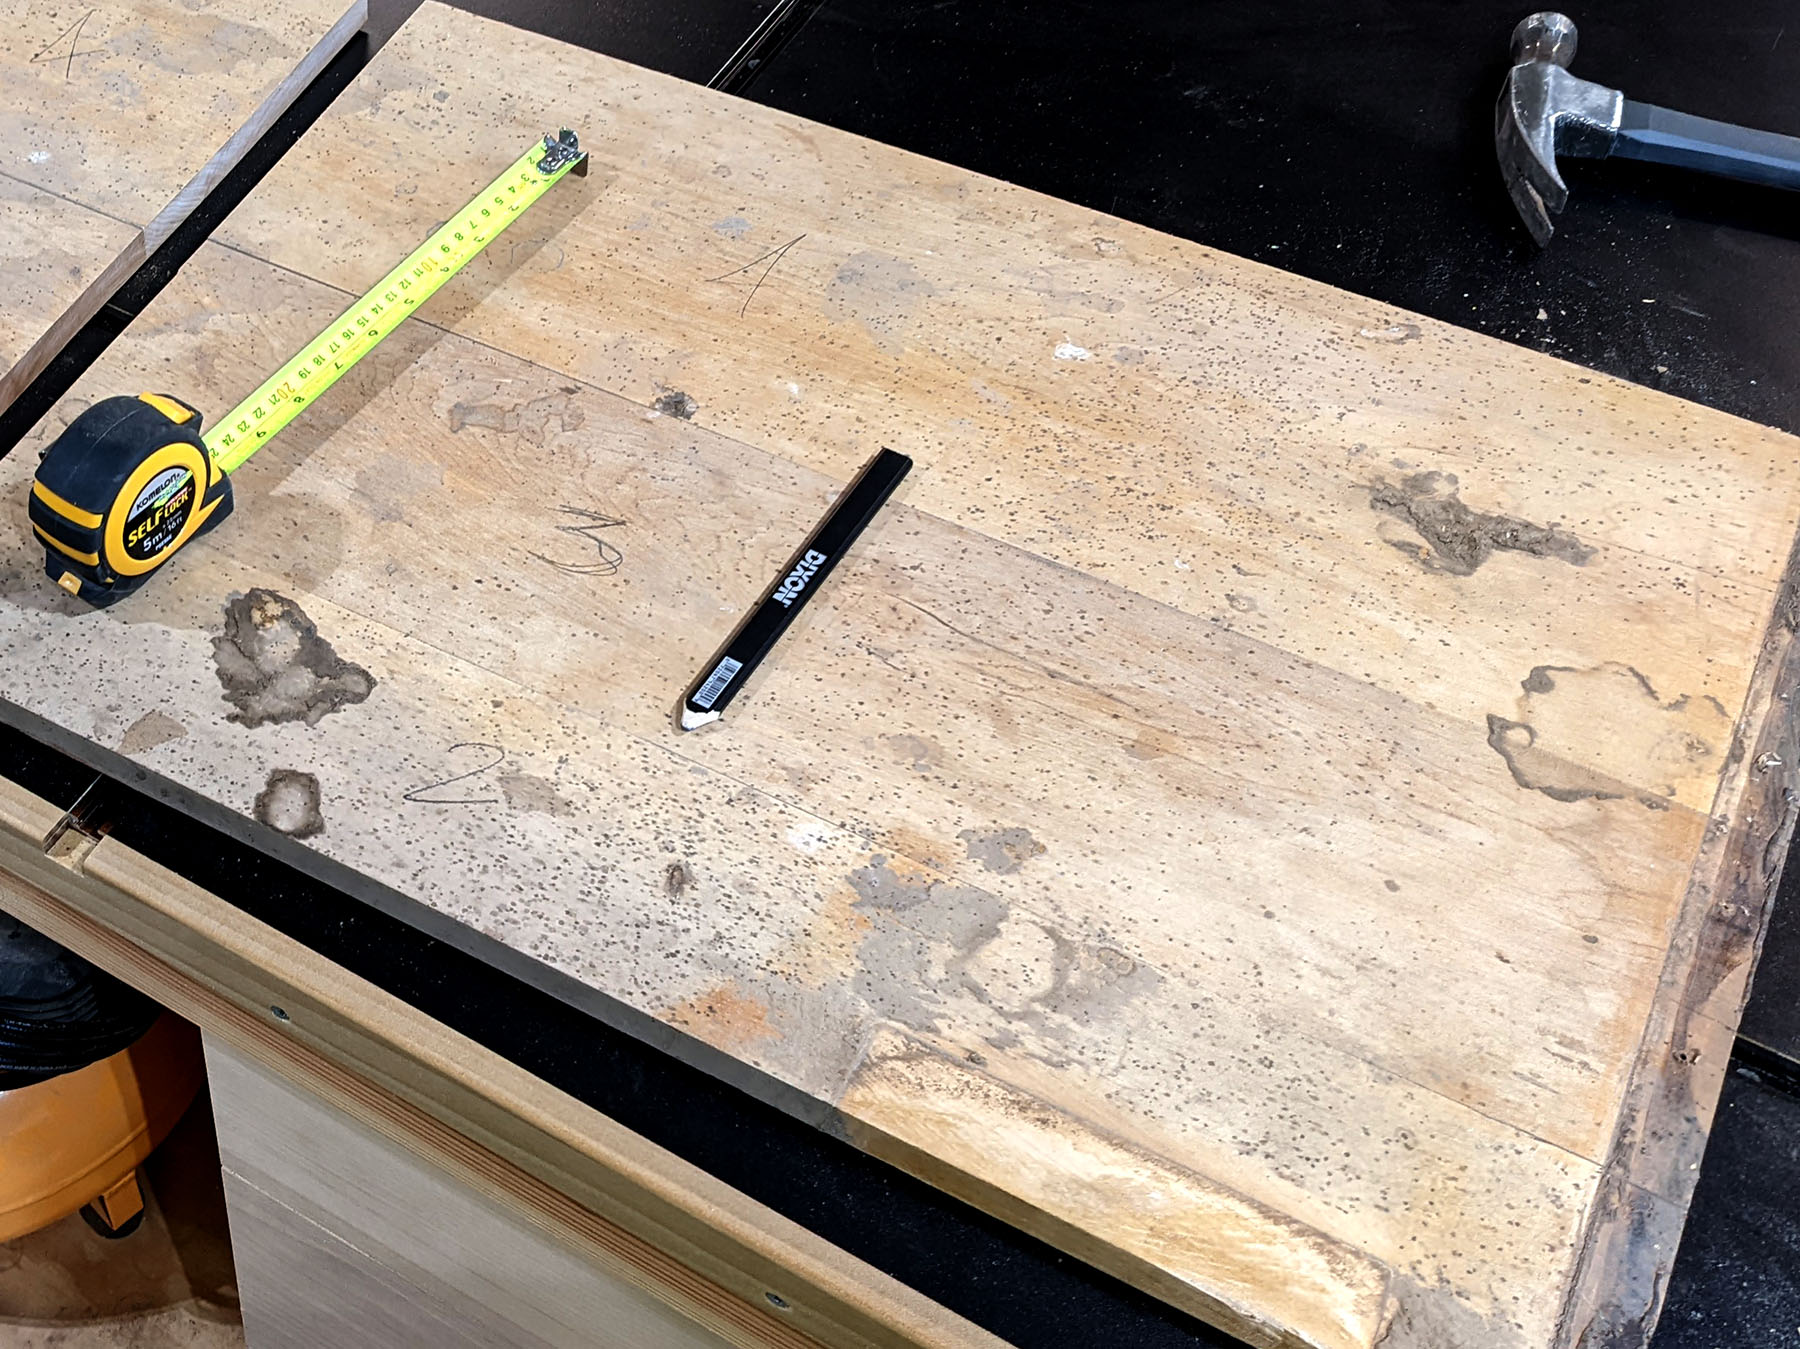
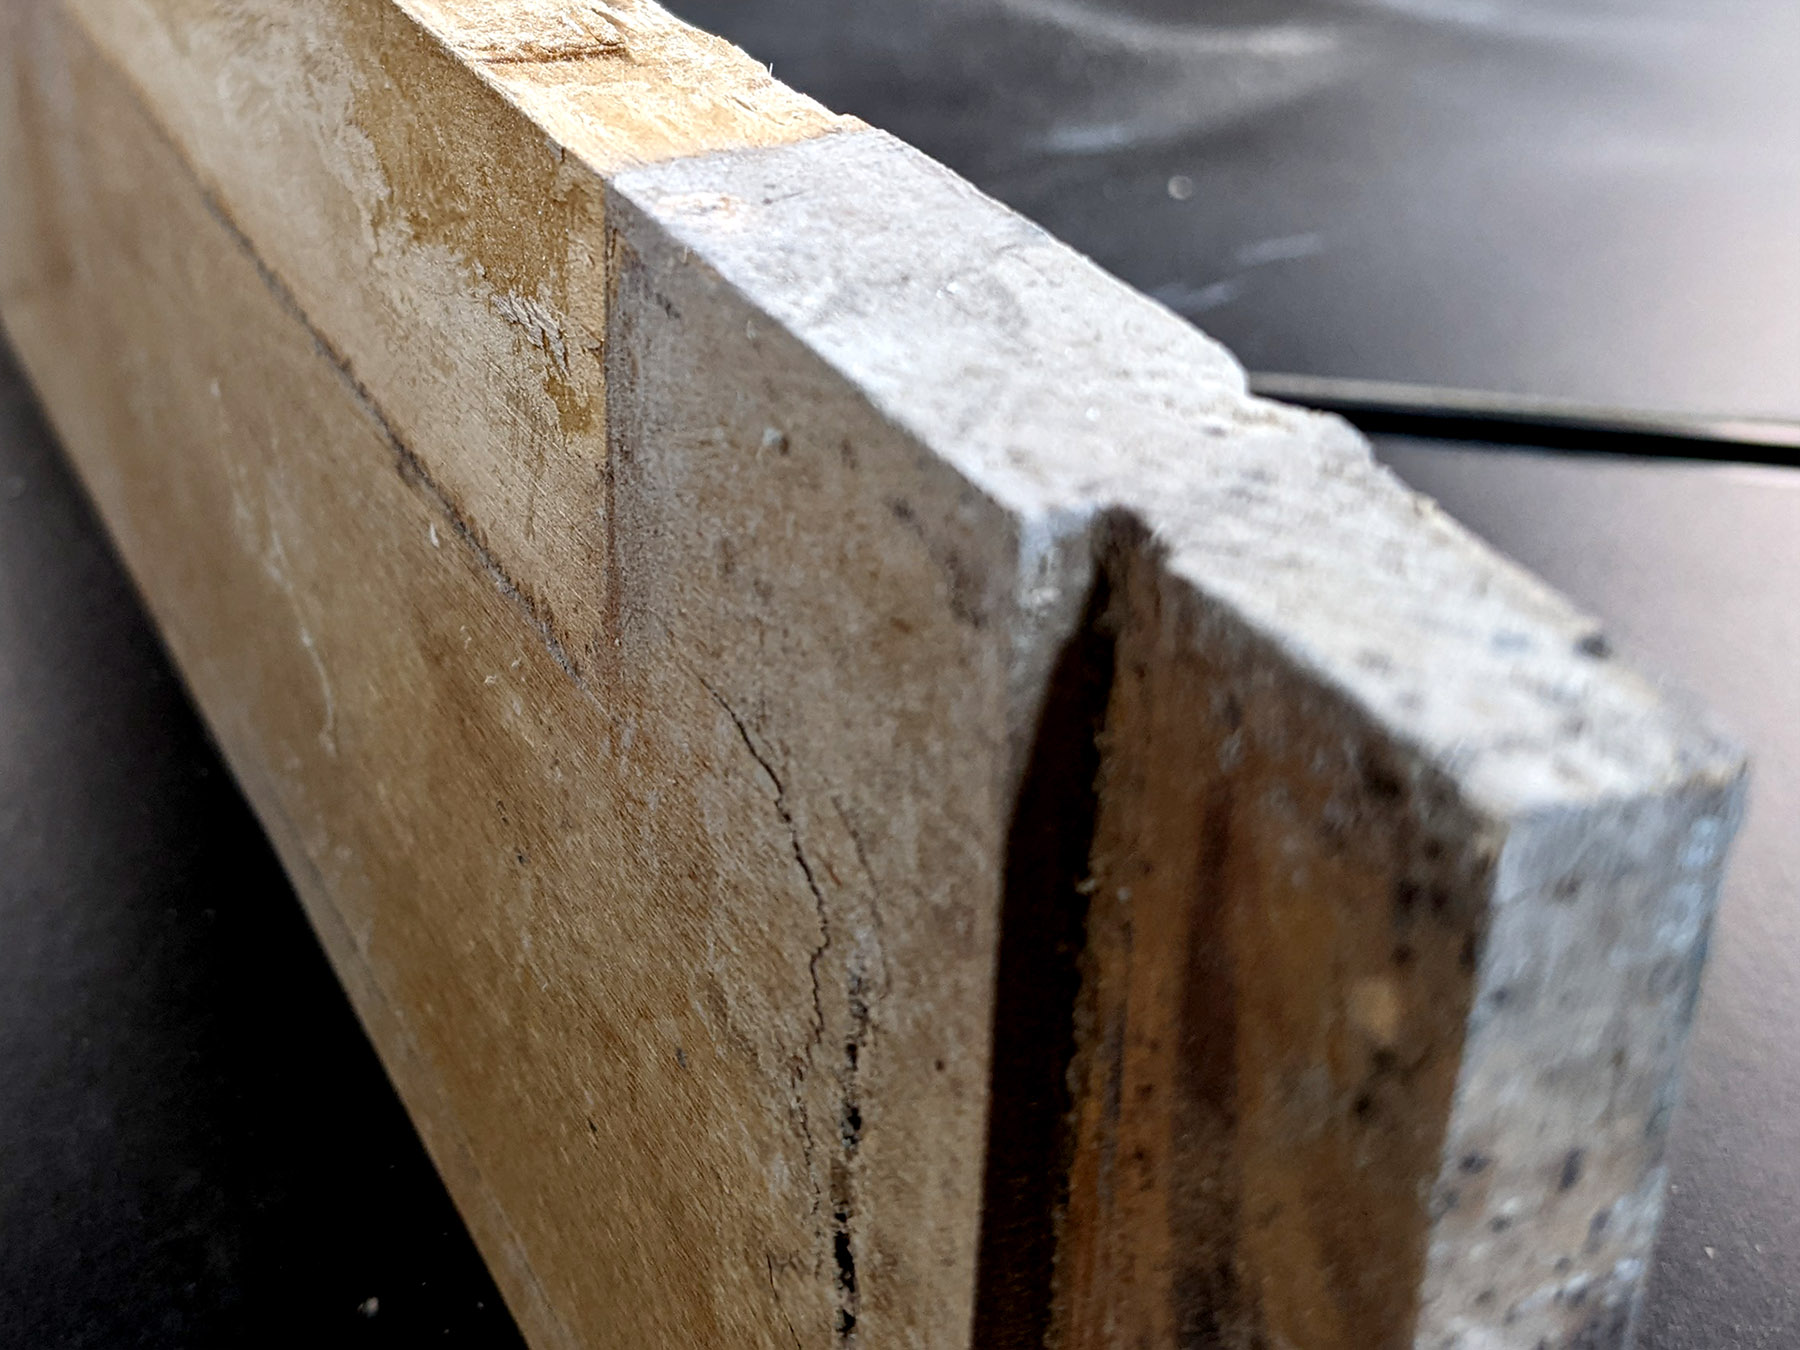
Rough Cuts & Cleanup
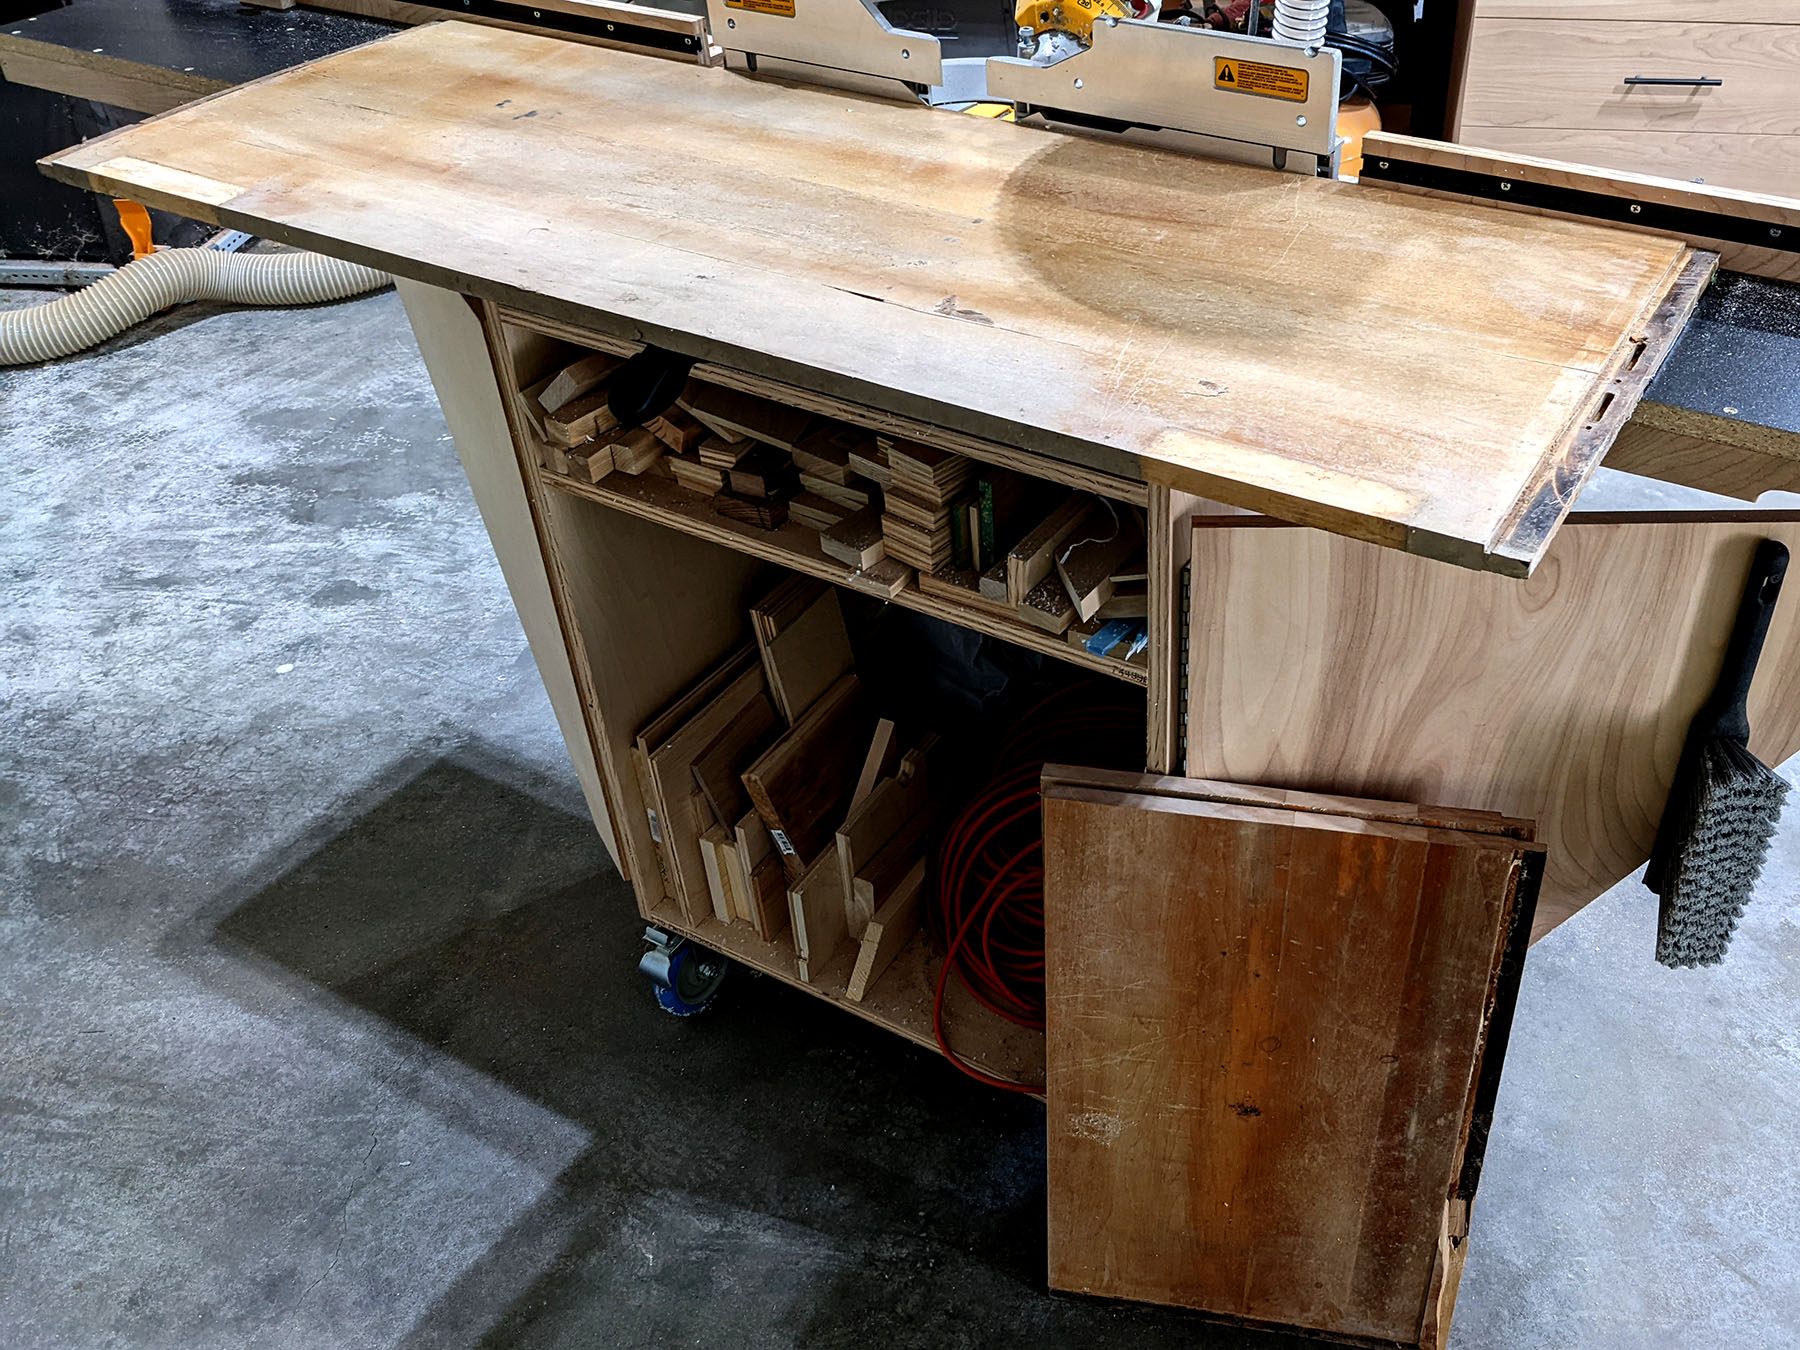
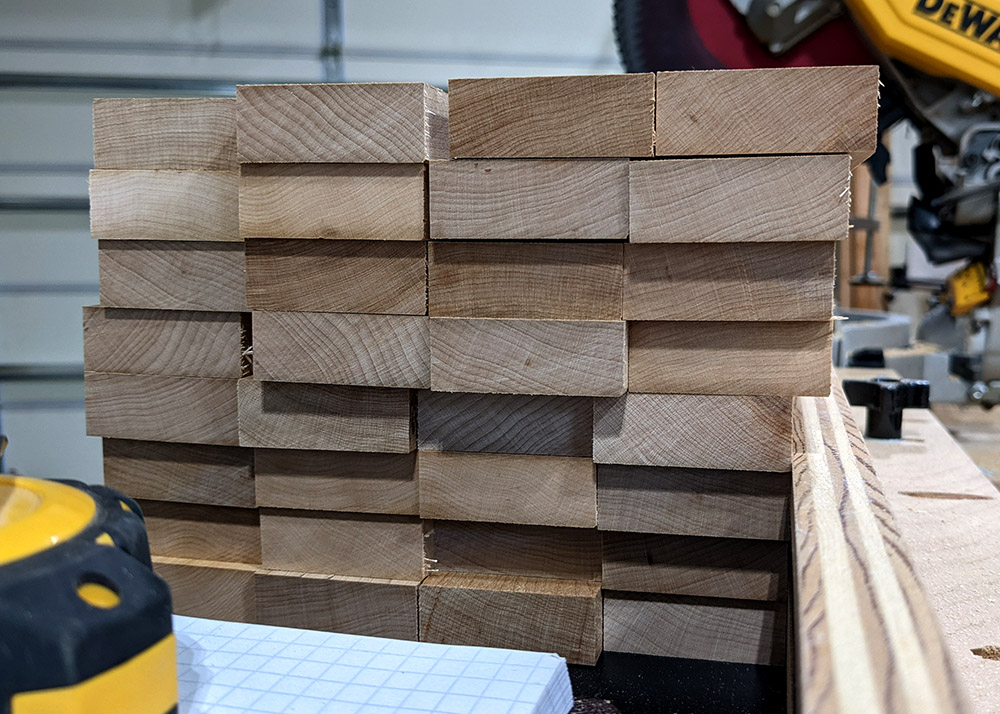
The shed did its duty and kept the headboard dry over the years, but a solid layer of dust and schmutz had formed on top of the original, weathered finish. After cutting the board in two, ripping each half into 31 individual slats, and introducing each one to the planer and belt sander, some lovely maple started to shine through.
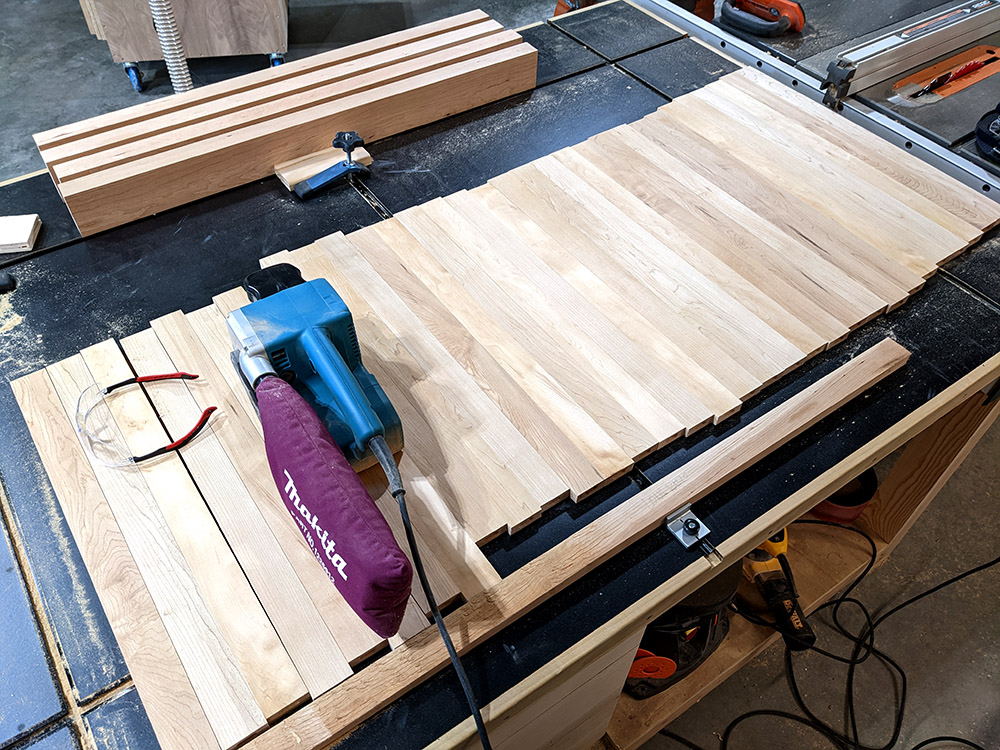
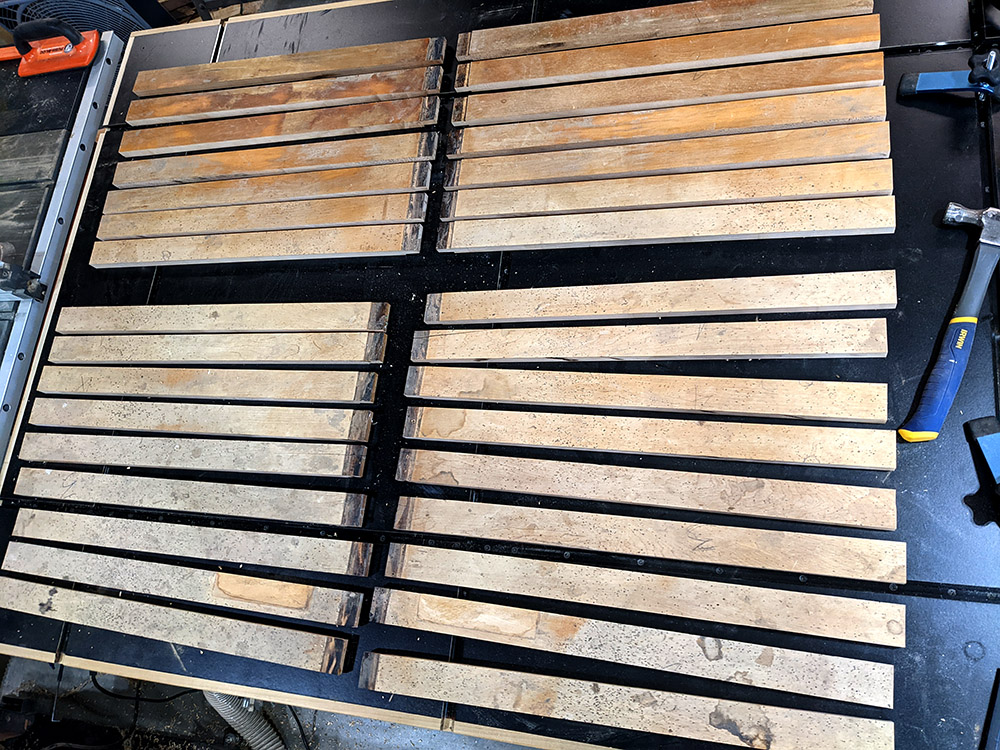
Rounding & Mortising the Slats
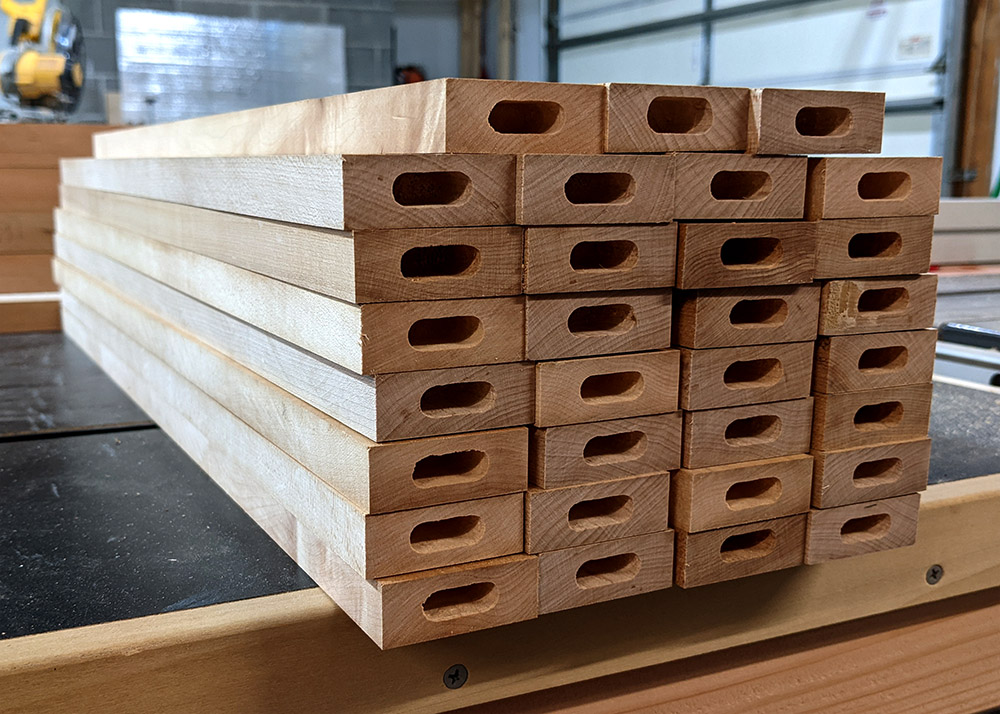
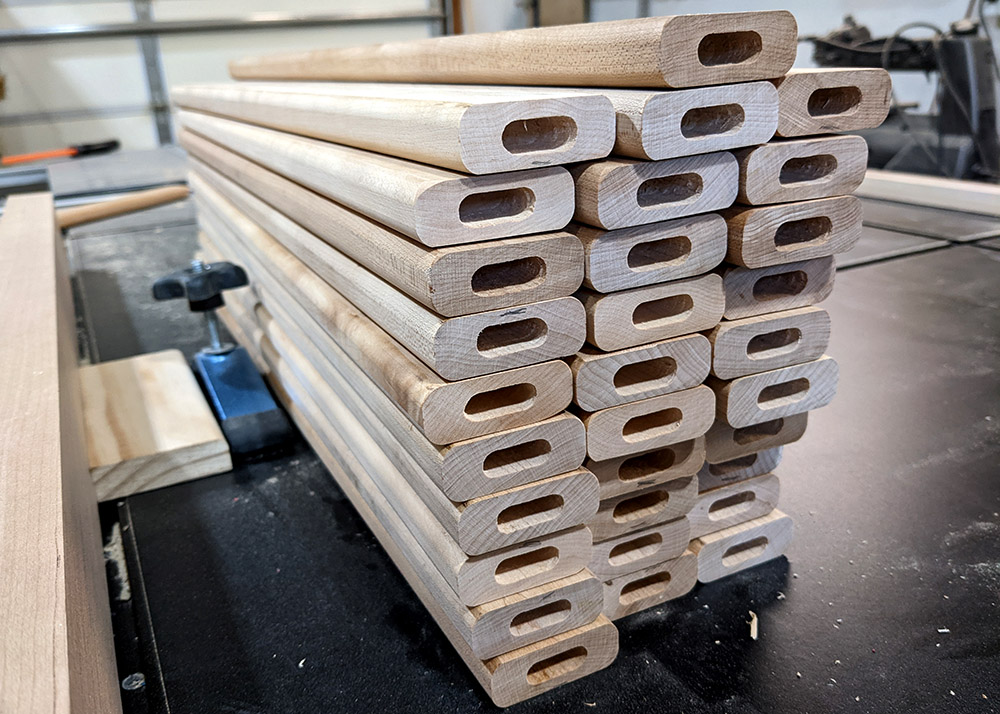
Next, the slats needed a bit of prep before they could make up the sides of the crib. A total of 62 mortises were cut—one on each end of each slat—for domino assembly, followed by roundovers on all four edges of each slat for a total of 124 passes at the router table.
Rails & Legs
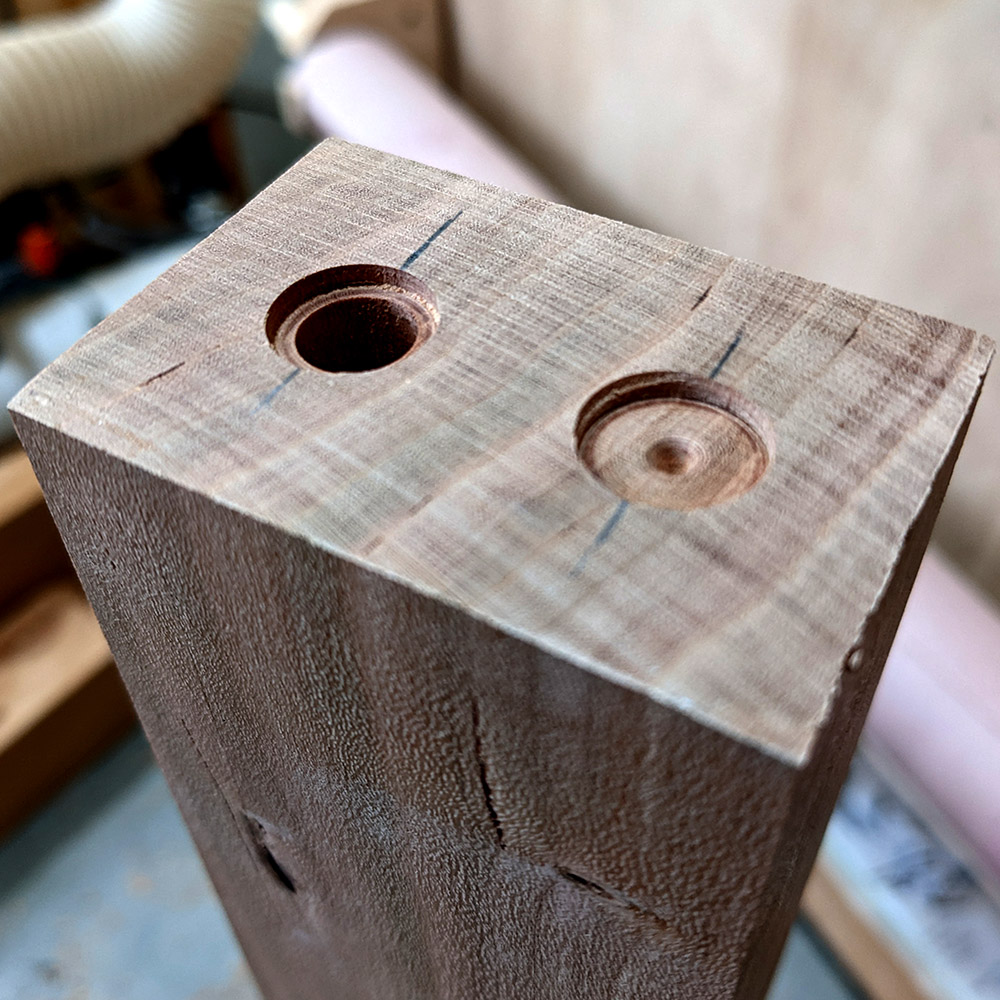
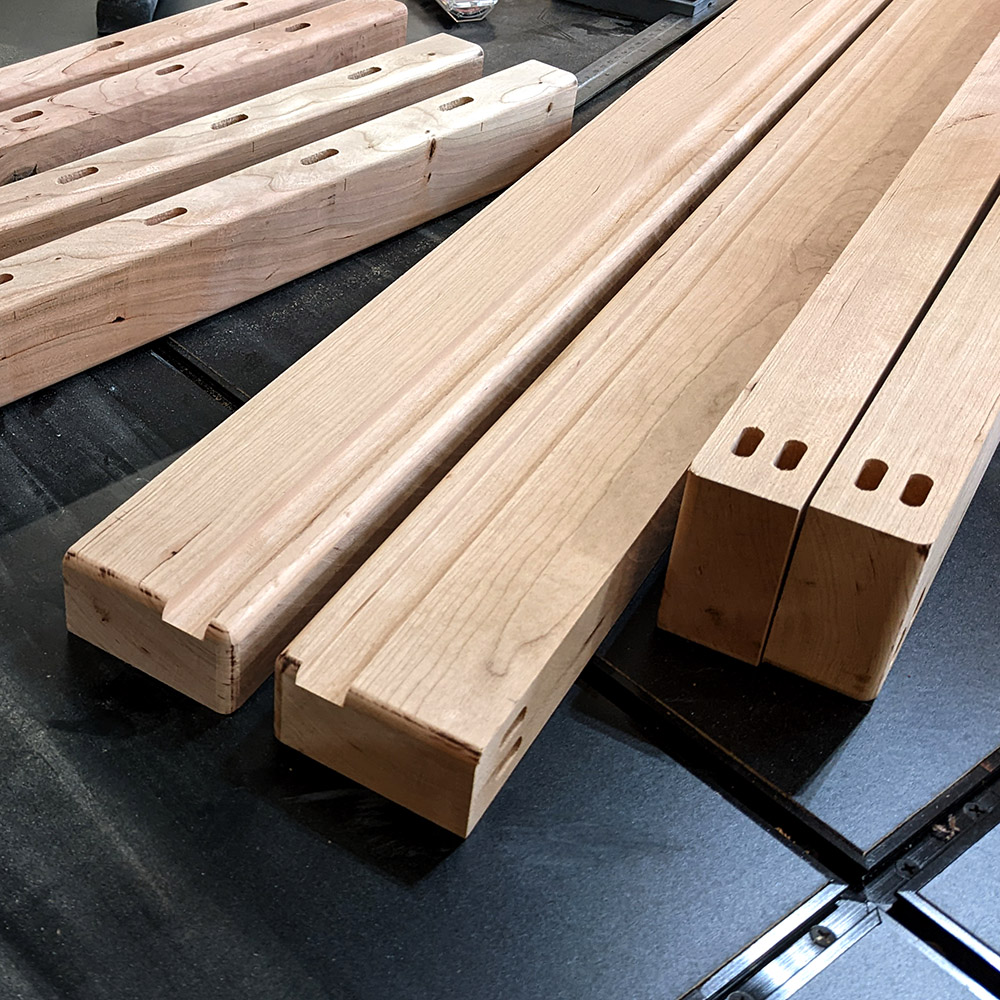
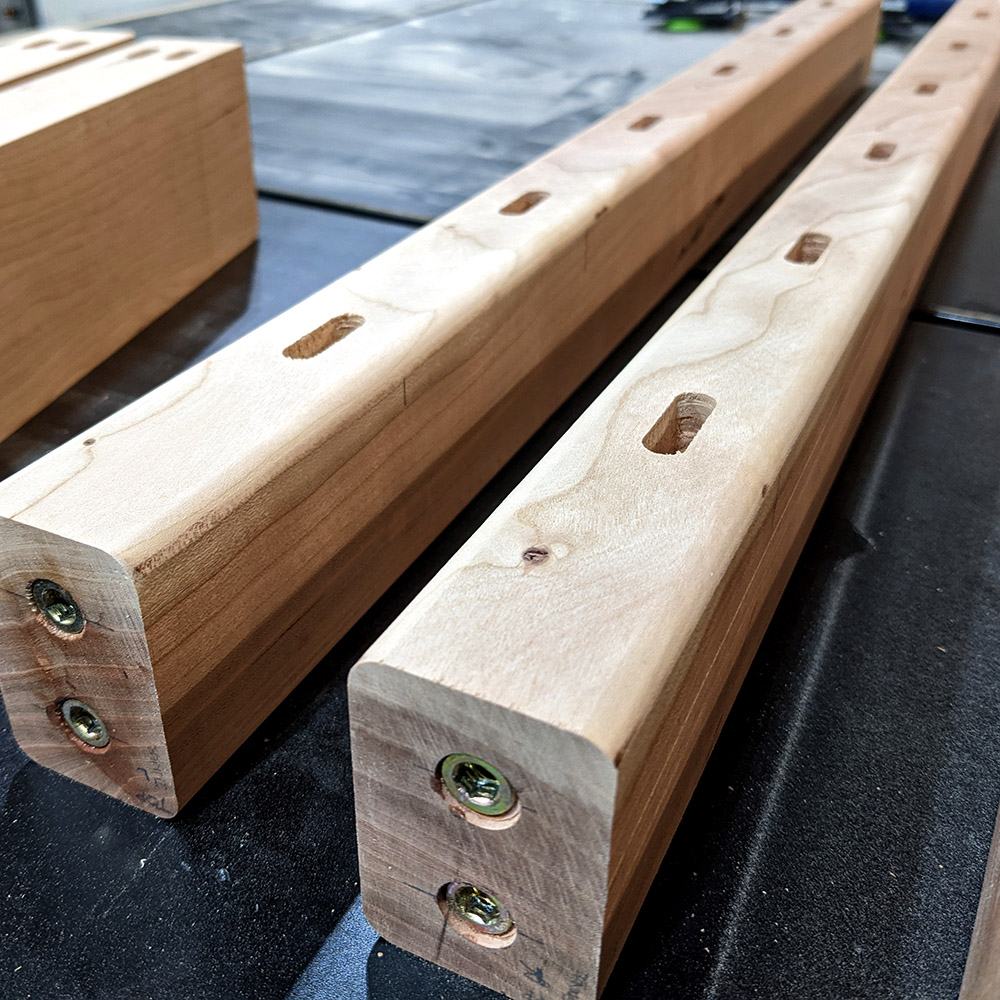
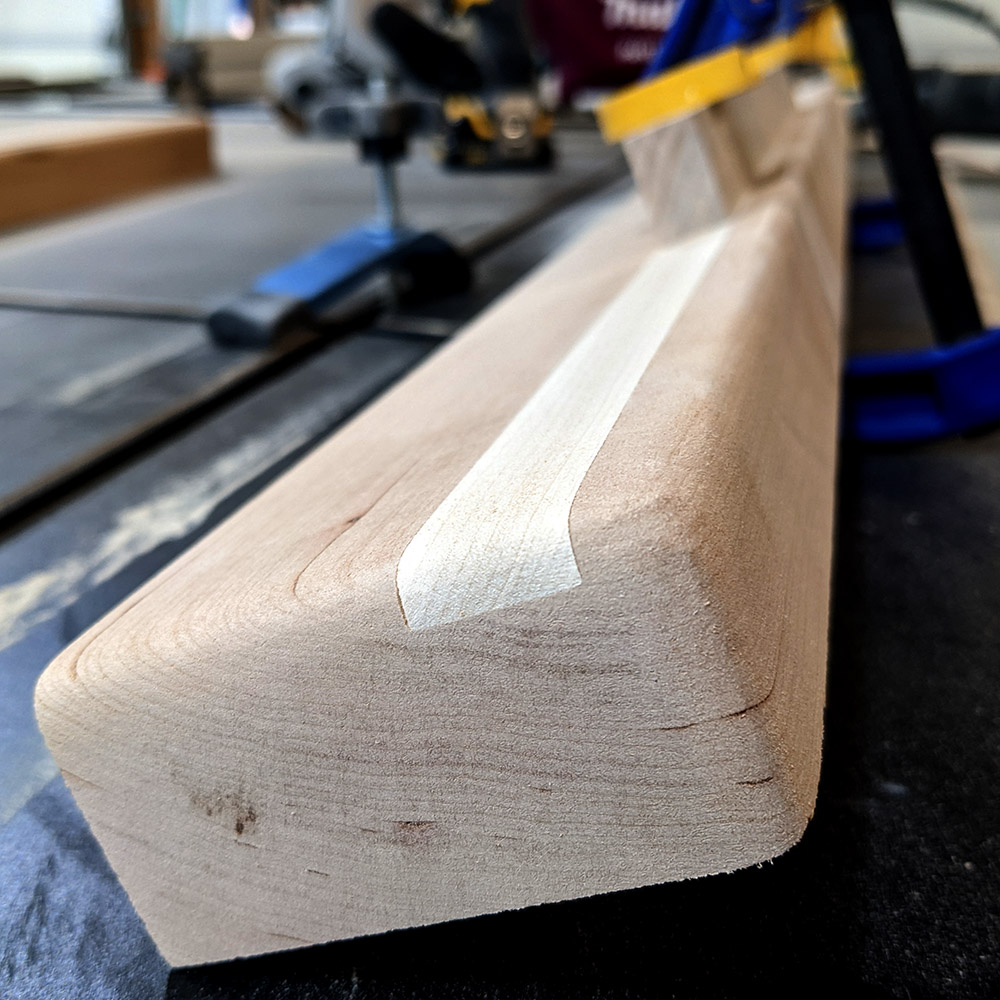
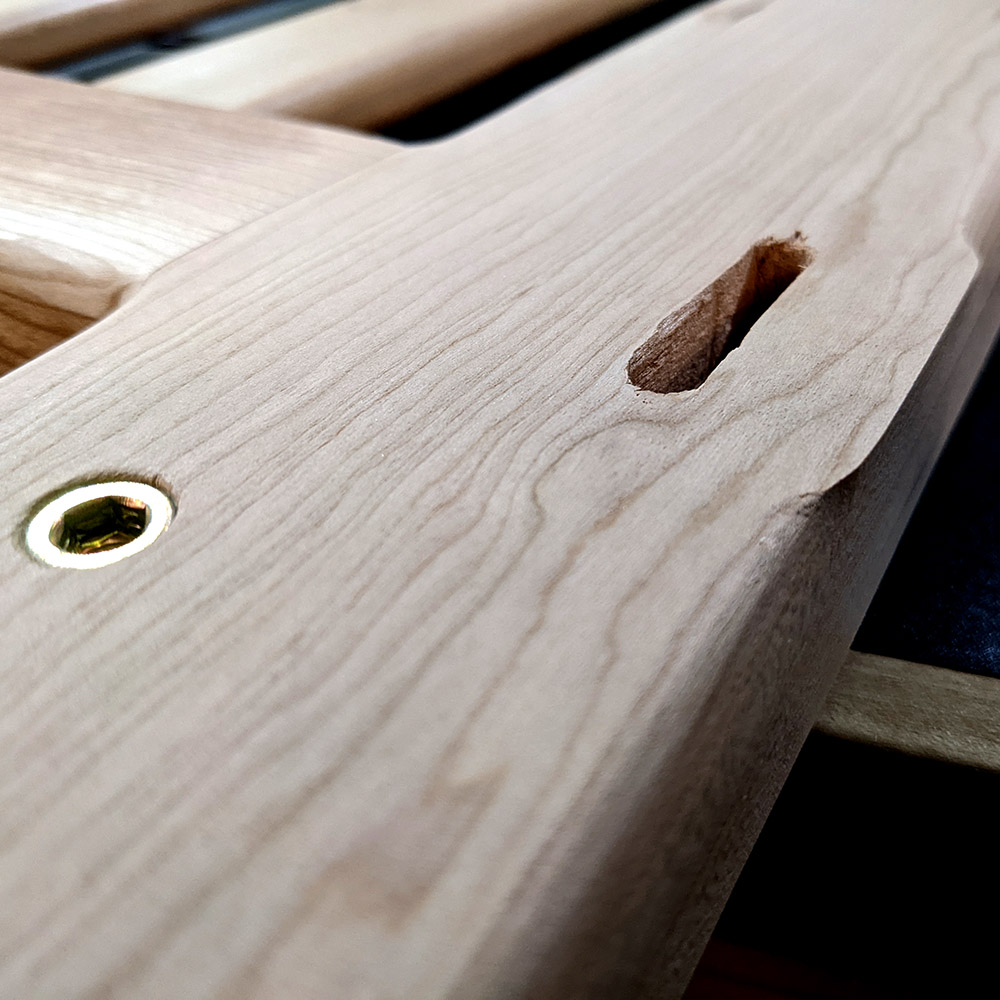
Legs and horizontal rails were cut from a solid piece of cherry, then mortised, rounded over, and sanded. The side rails are held in place with threaded inserts and a set of bolts that pass through each leg. On the front legs, a pair of thin accent pieces click into shallow channels (magnets FTW, baby!) after the bolts are installed.
Finally, each leg received a subtle taper on the inside edge, and inserts were added at two different heights on each leg to support the steel rails that hold the mattress base.
Center Panel
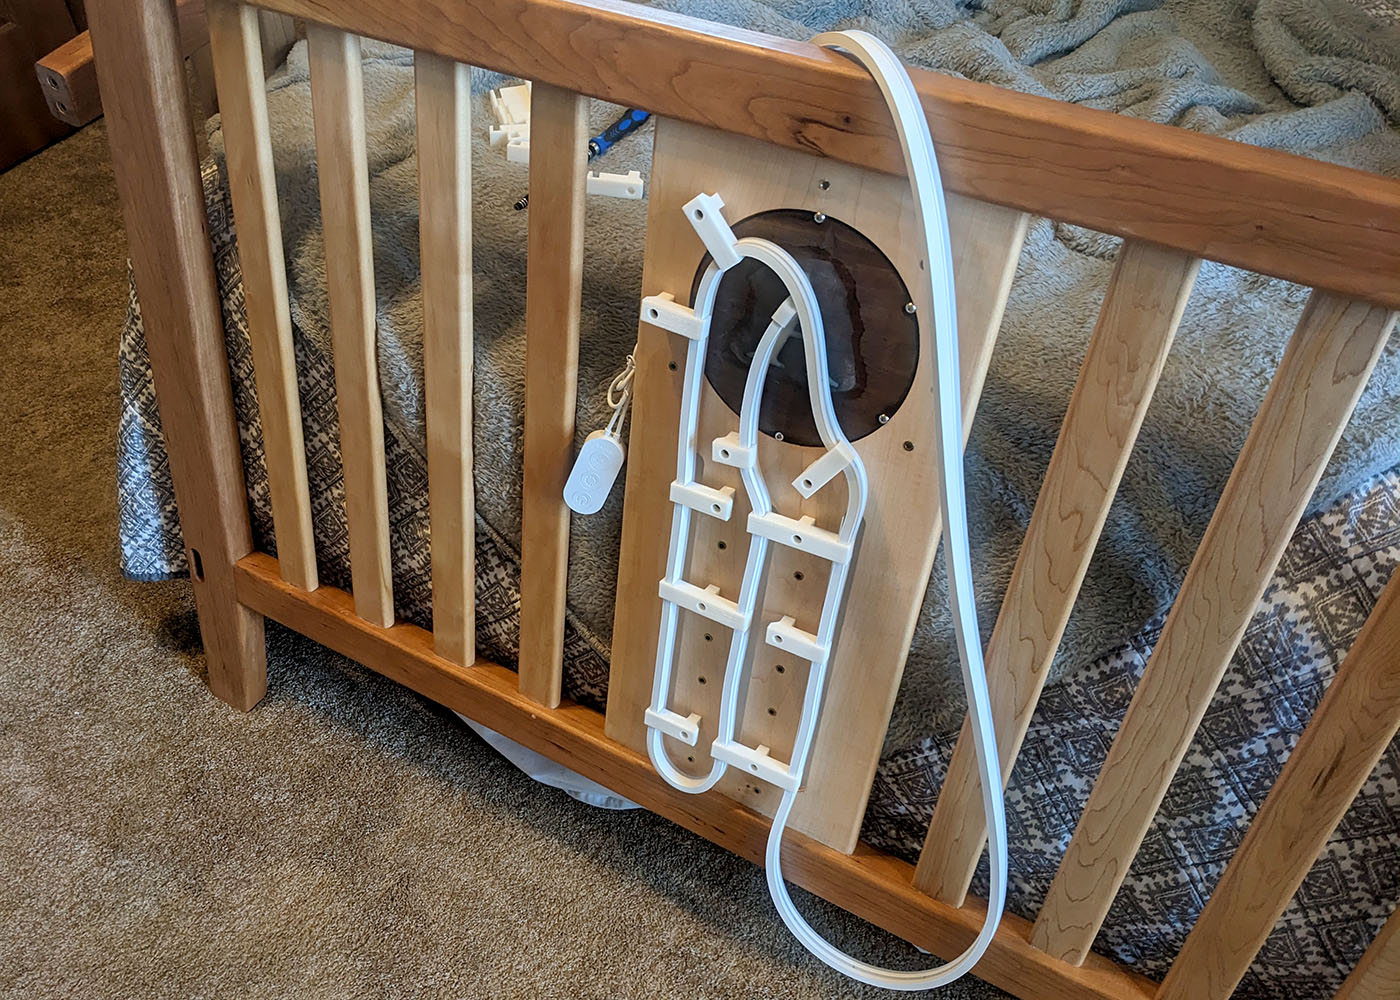
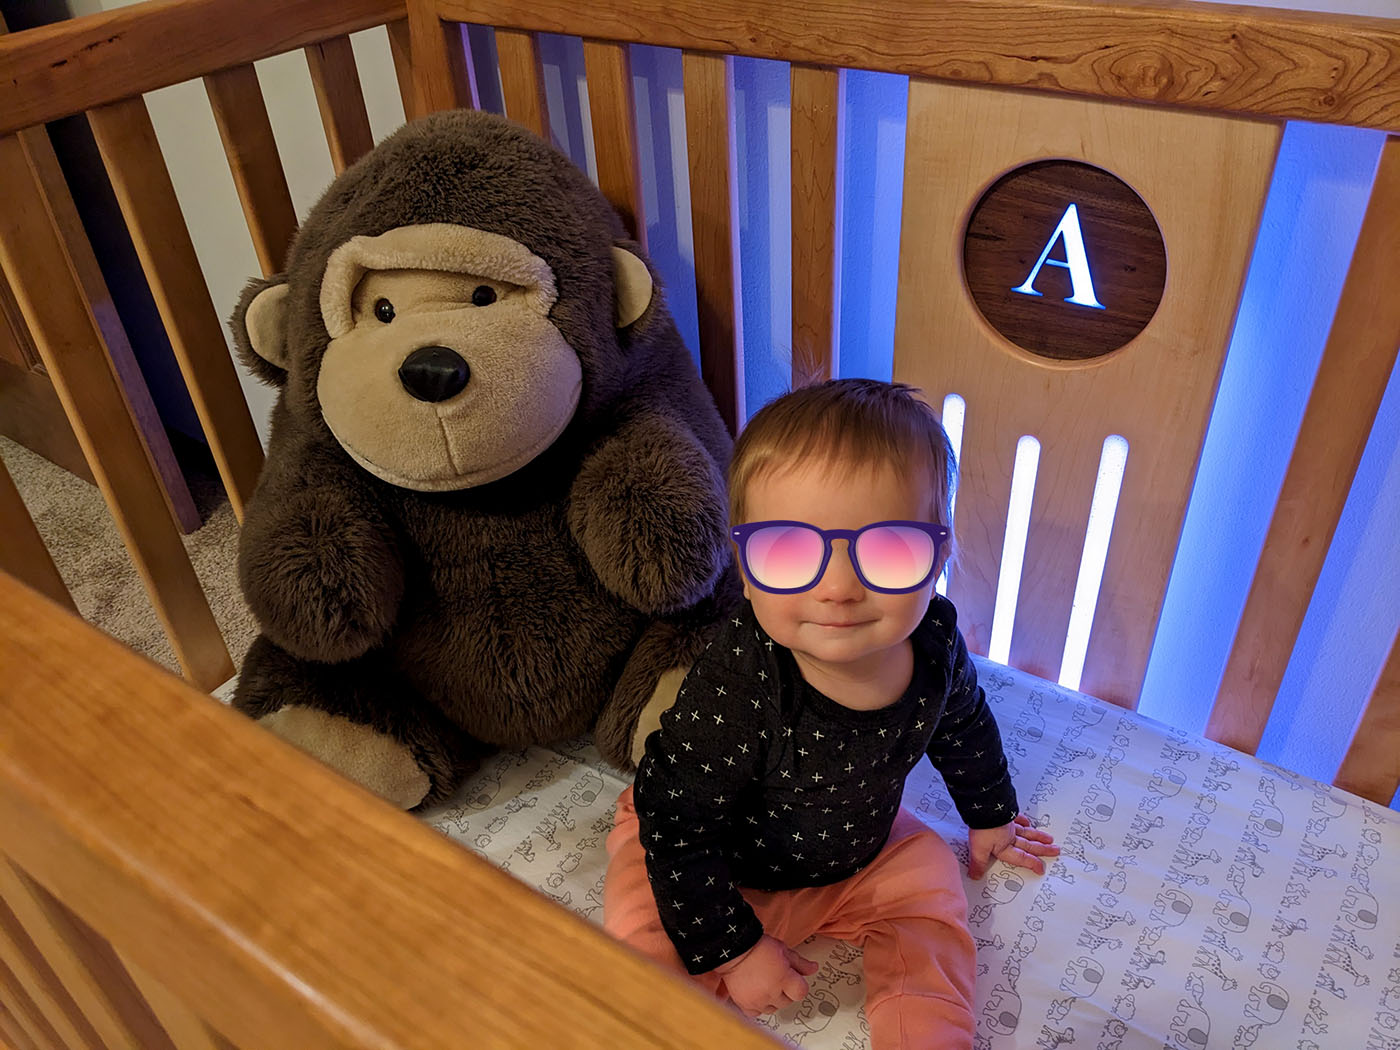
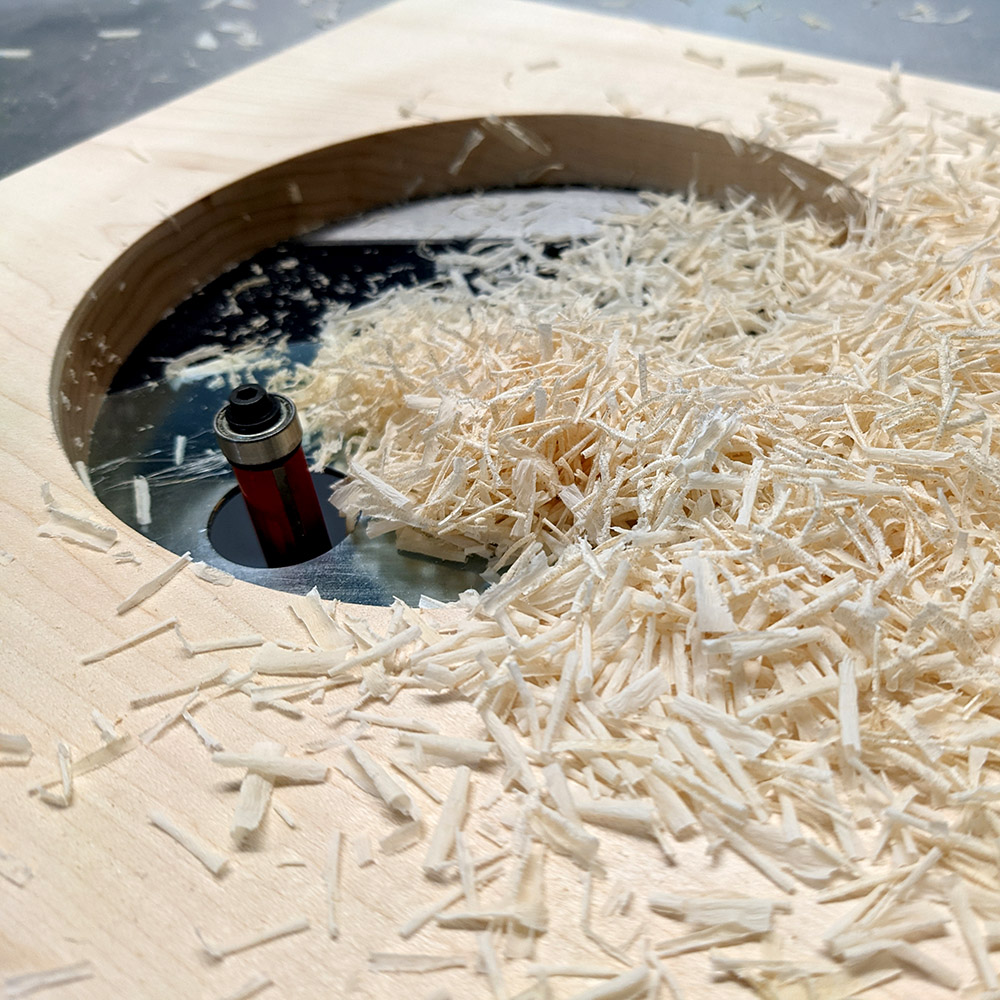
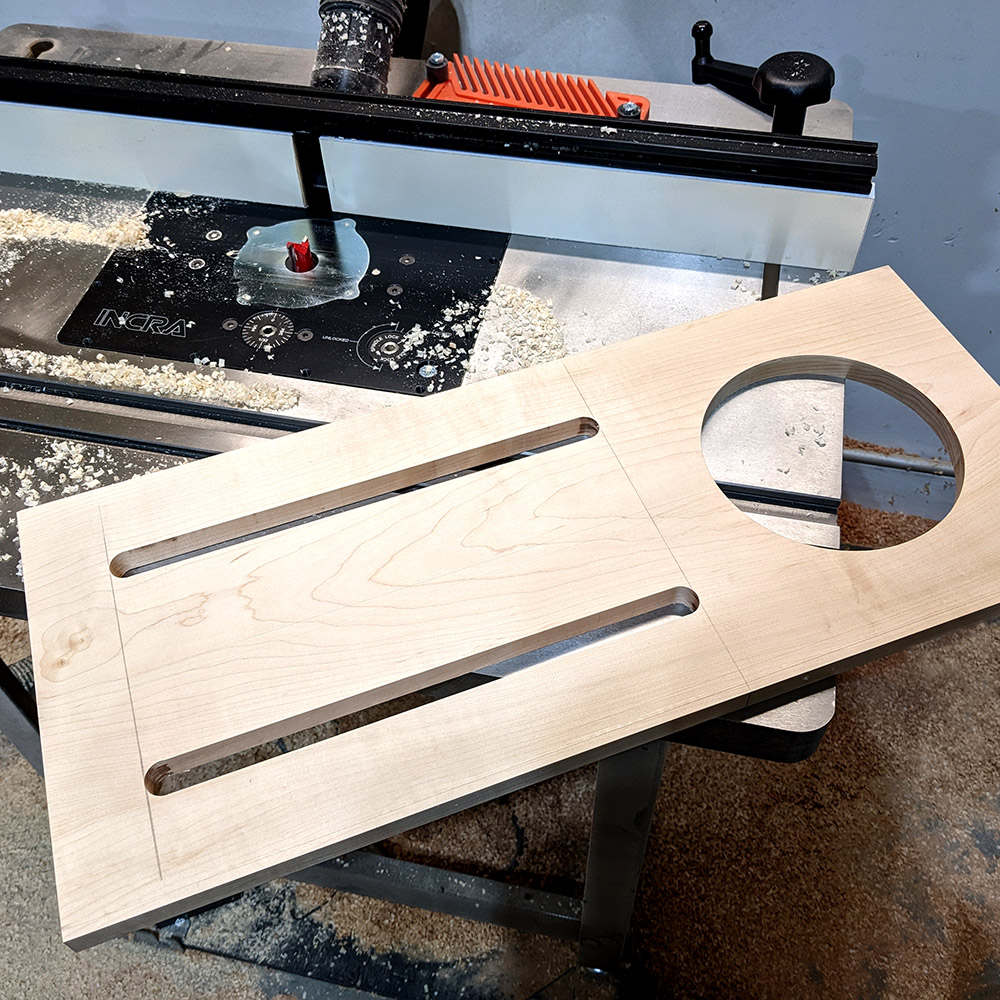
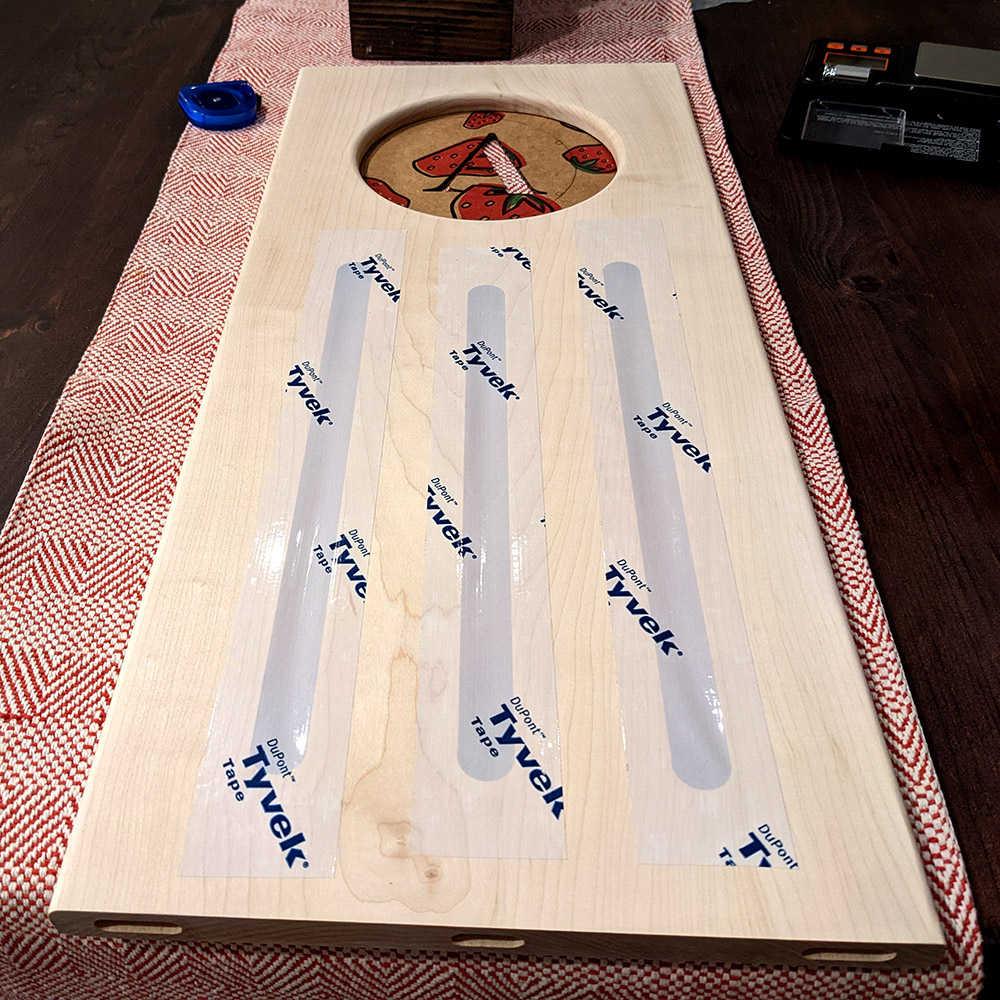
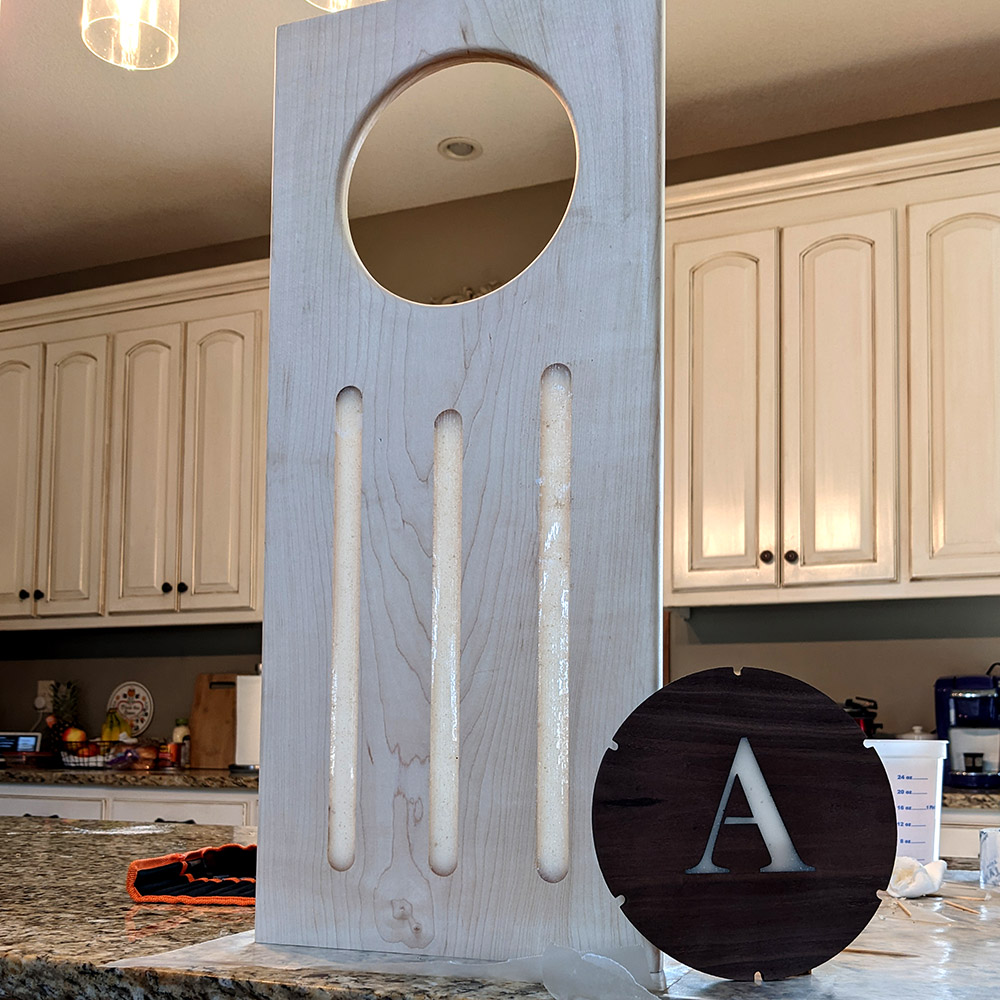
In the center of the back side, a solid chunk of maple filled in the remaining void. Three symmetric accent gaps were cut into this panel, then backfilled with a chalky, semi-opaque epoxy to allow some light through. Mini threaded inserts were put in the back of the panel to support said lighting. More on that in a minute!
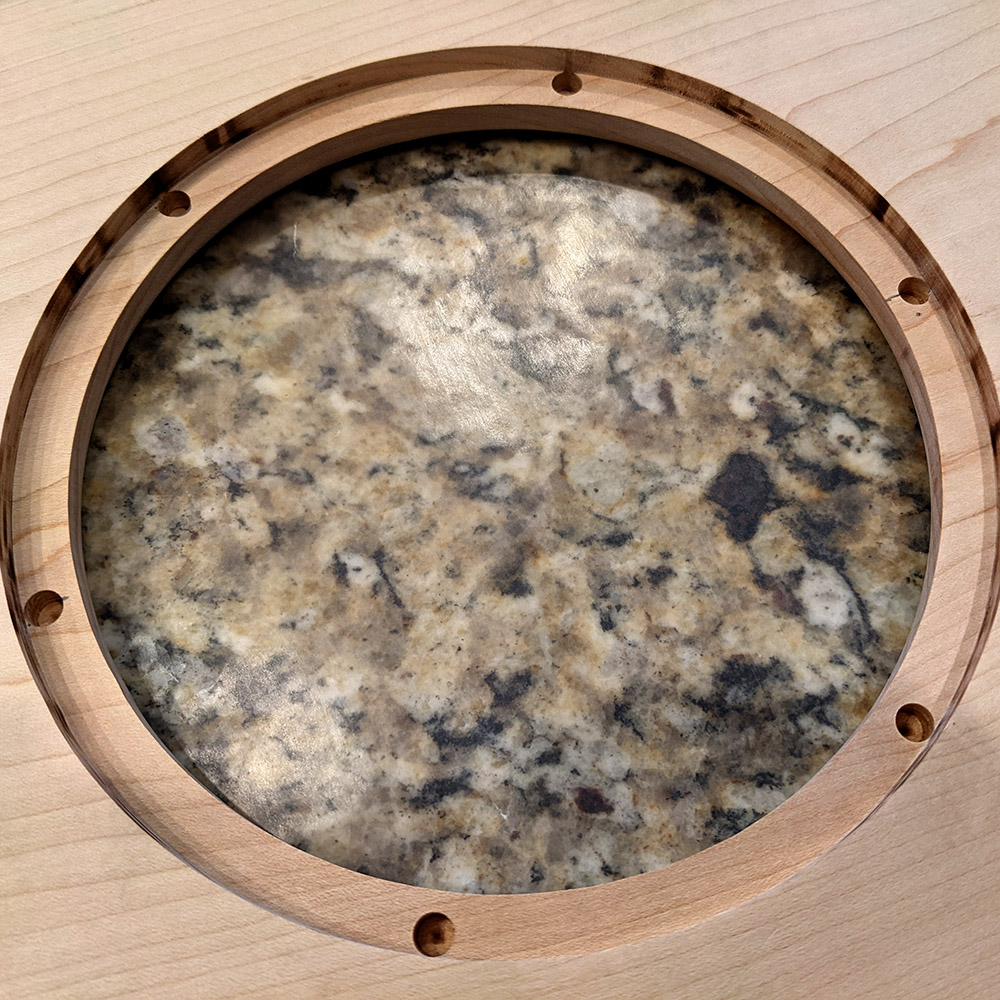
The three accents lead up to a circular rabbet cutout, for mounting an interchangeable "letter plate". The inaugural A plate was laser cut from a piece of dark walnut, planed down to 1/4" thick, and filled with the same epoxy mix.
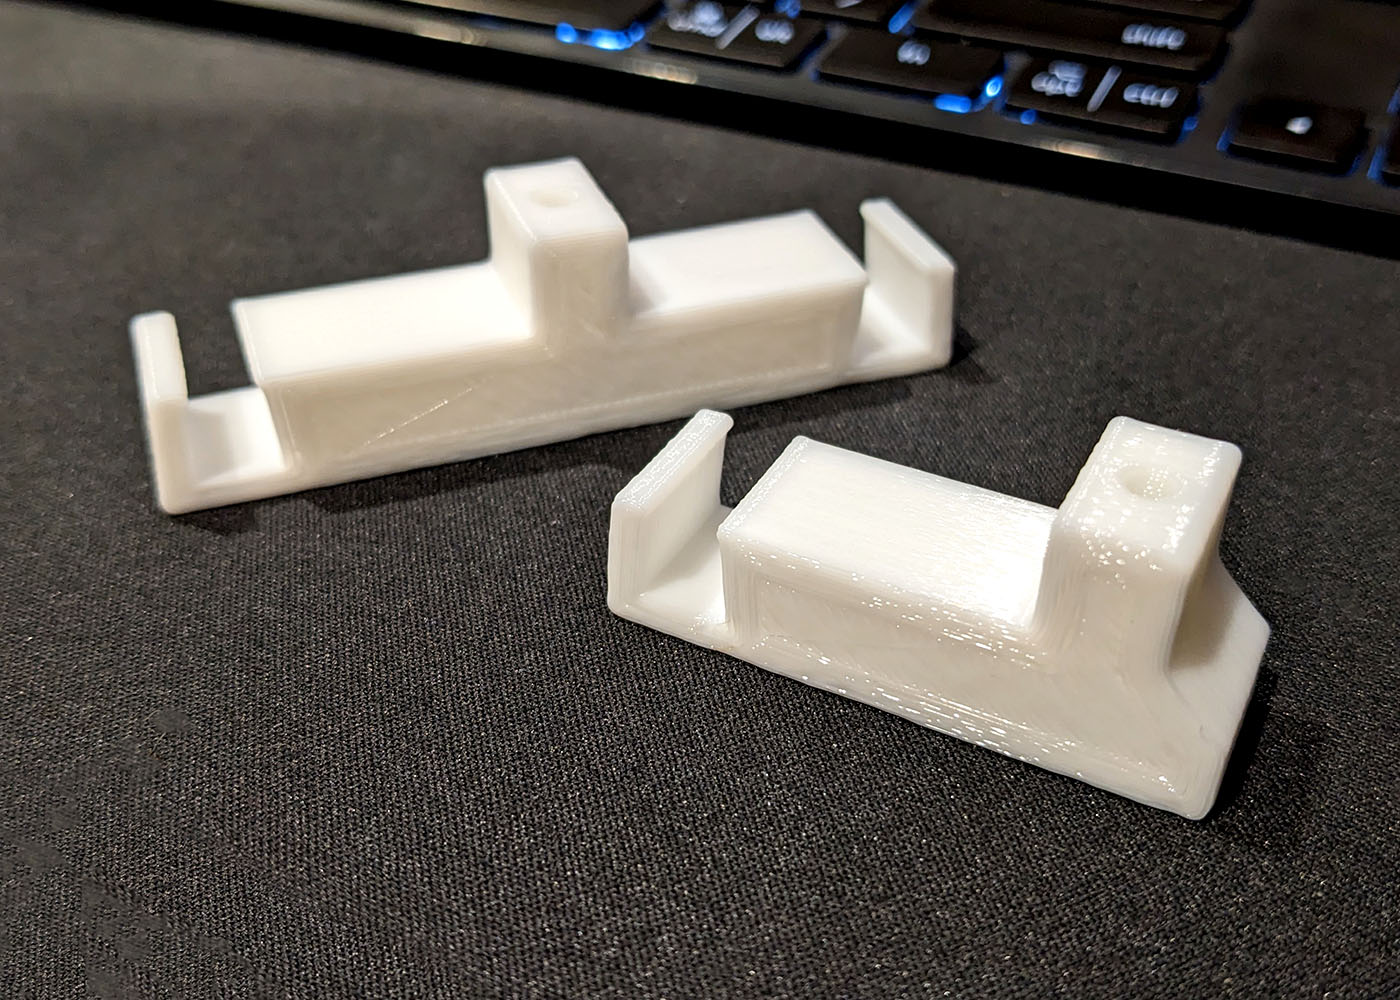
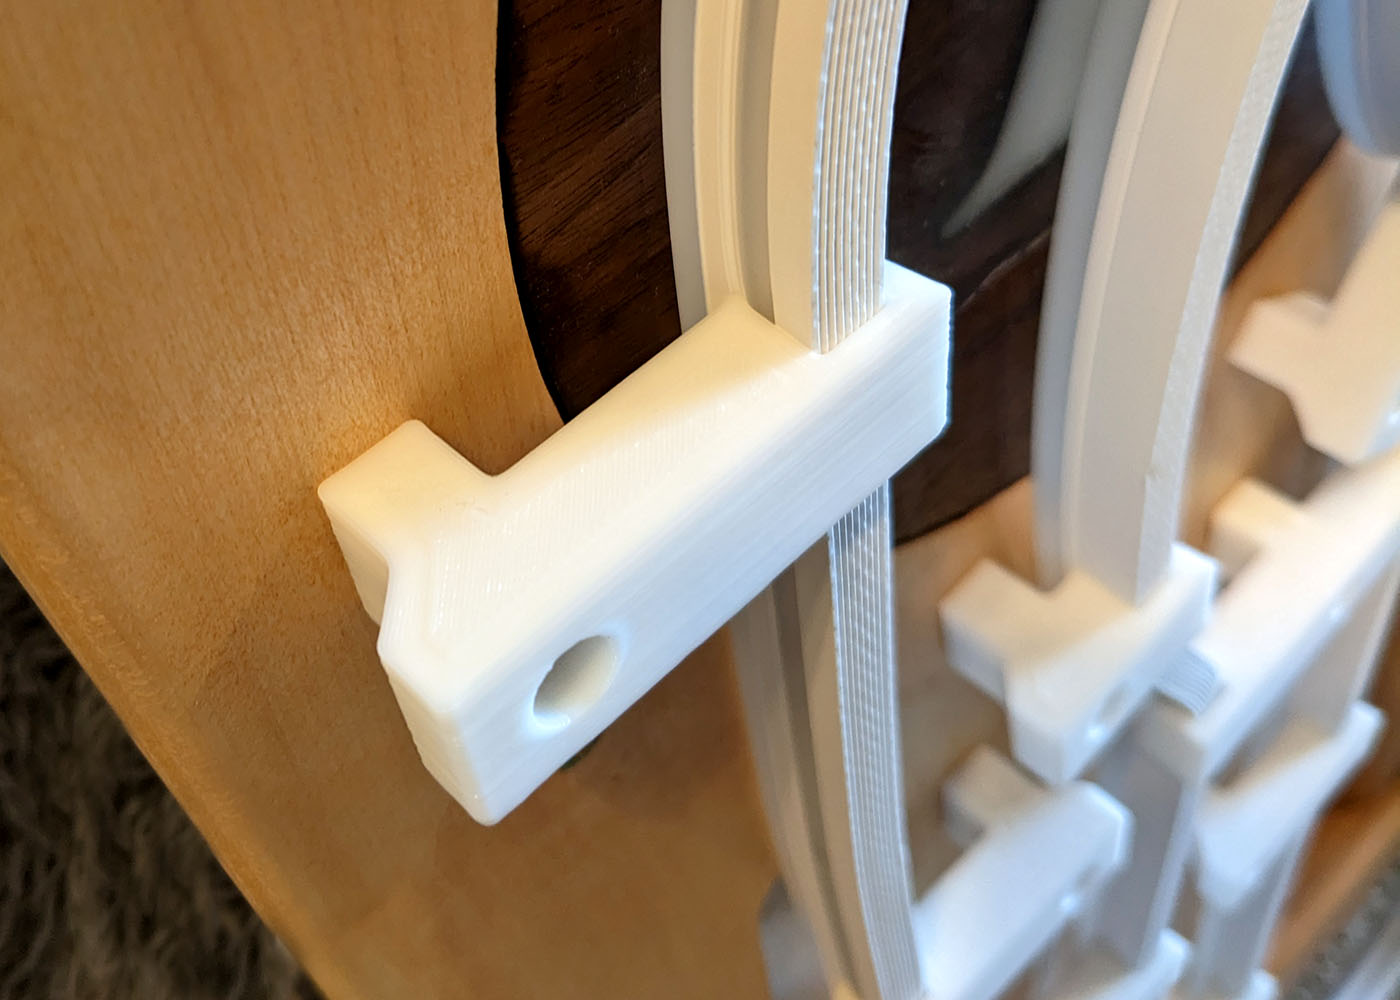
I wanted to mount a smart LED rope light (don't judge me 😂) on the back of the center panel, to ensure it followed the path of epoxy-filled cutouts. In Fusion 360, I threw together a couple of bracket variants—single and double-ended, to pinch the rubbery back of the rope light—and printed out a handful.
Assembly
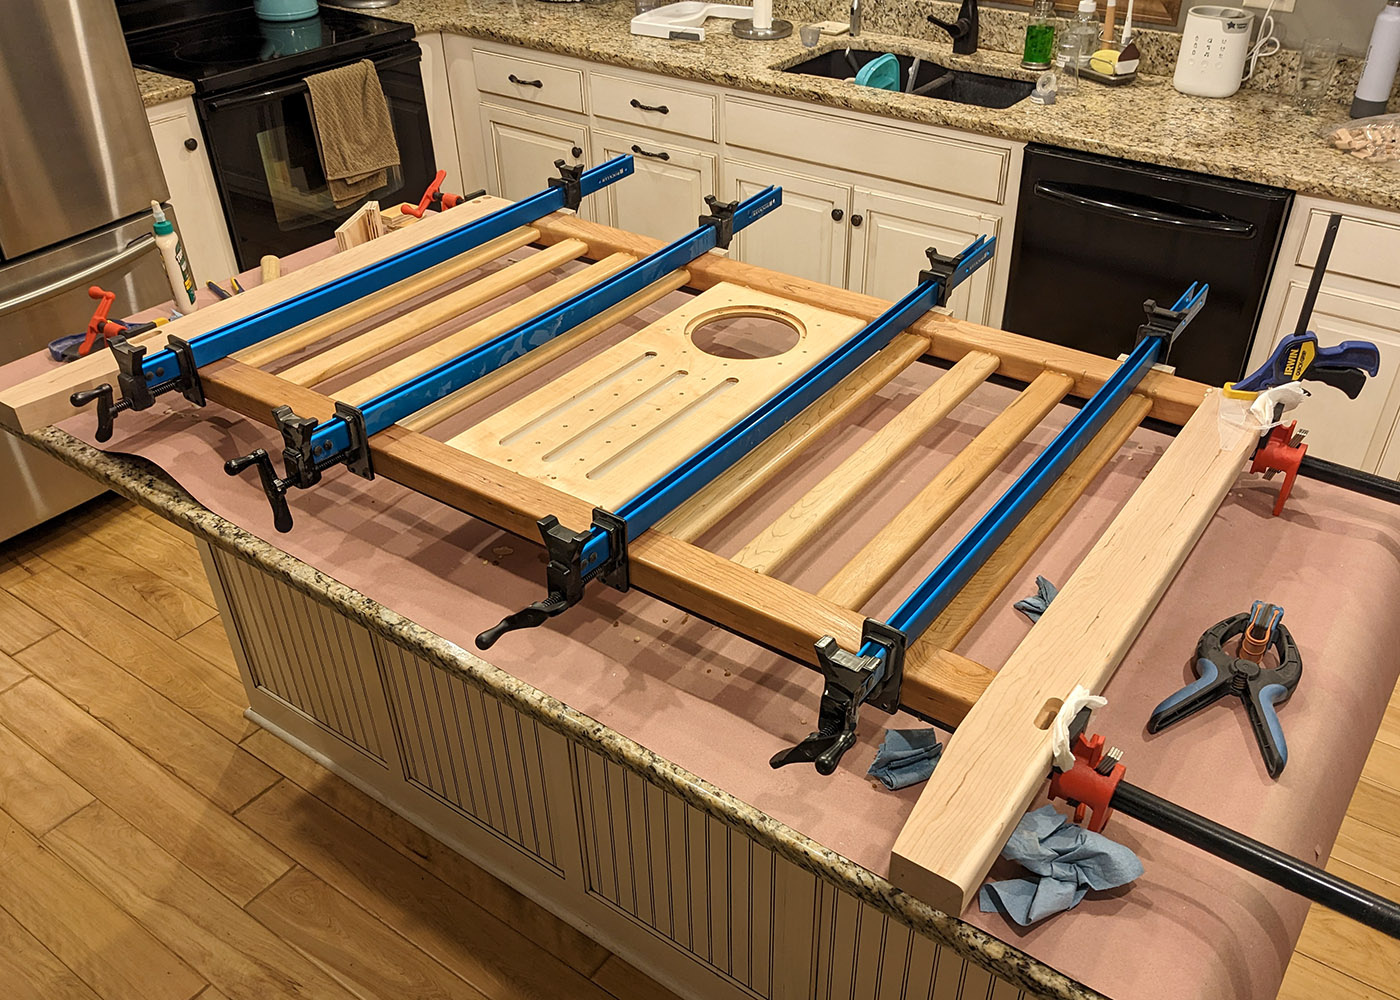
With the printed parts complete and the legs, rails and slats ready to roll, it was time for a big glue-up! A special thanks to Sarah, for letting me commandeer the kitchen island for a solid 24 hours. With wax paper spread out, a handful of bar clamps were used to assemble one side of slats and rails at a time.
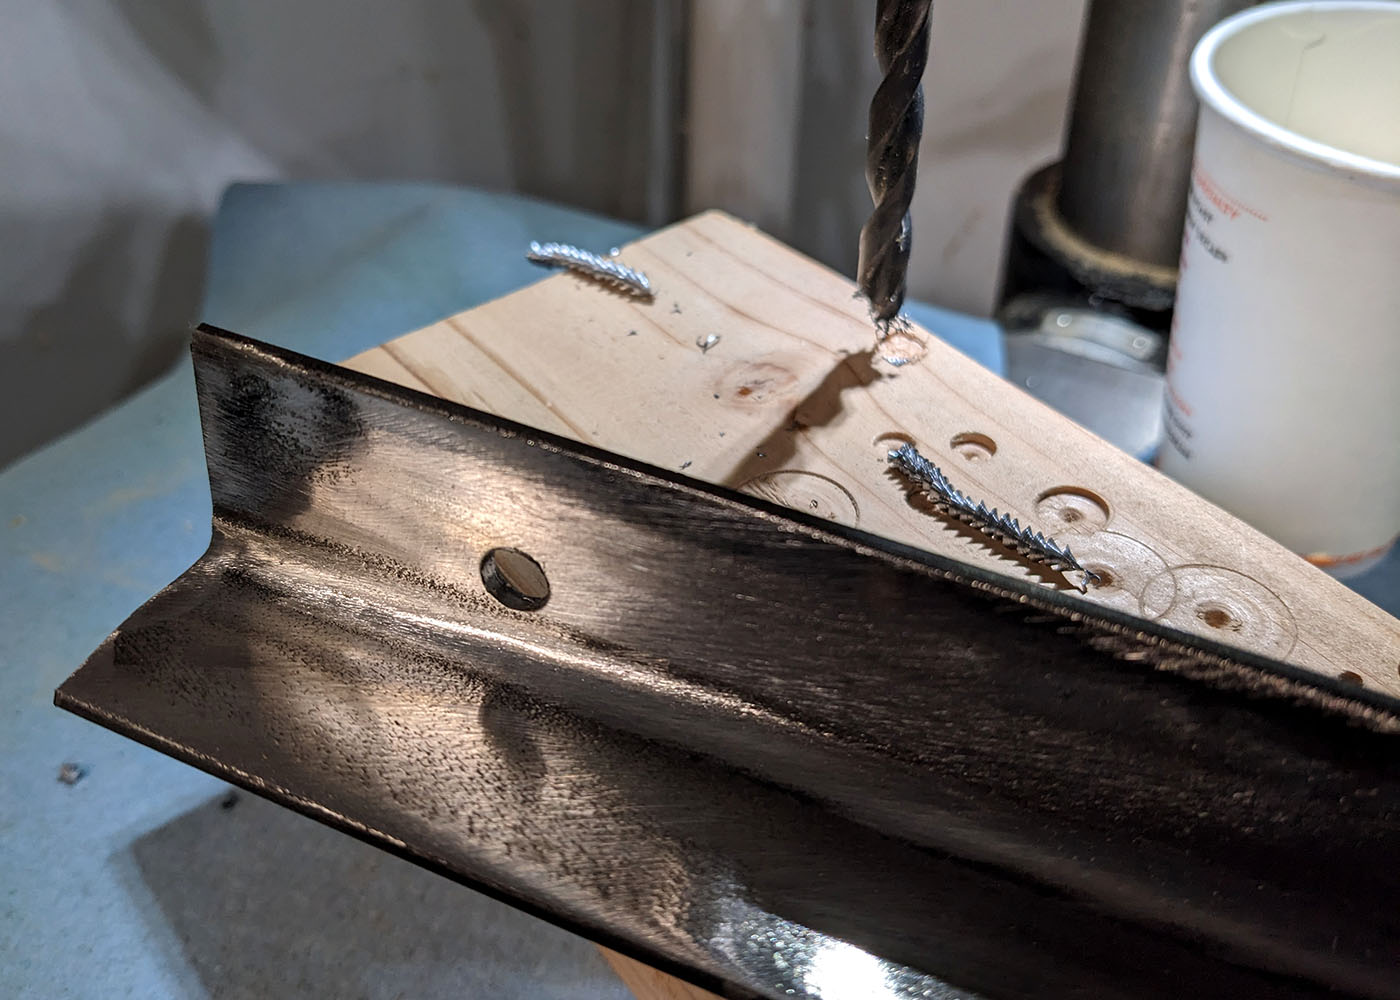
Finally, the two angle iron runners were sanded, painted and bolted to the side panels. After sanding and finishing with stain and paste wax, the rope light was installed with the backside clips, and the crib was ready for a dance-party!
